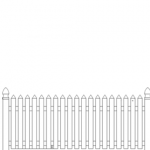
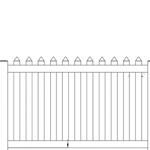
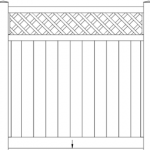
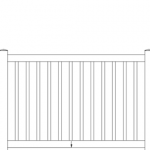
Installing Royal fence can be slightly different between different styles. While this installation guide will be dedicated to Dover vinyl fencing, you can click on any of the buttons at the bottom of the page to find Crown Point, Cascade, Kingston, and Hartford fence installation guides.
Installing a Dover Style Vinyl Fence by Royal
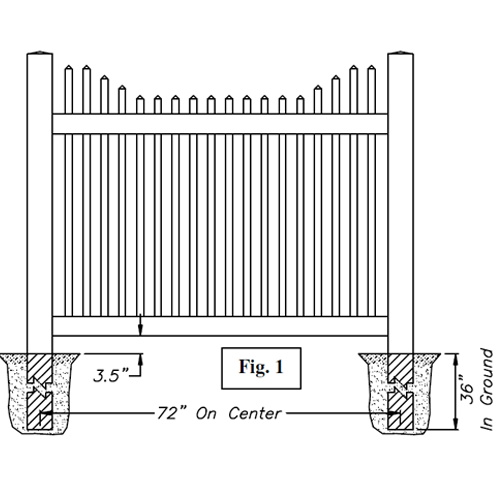
1) Dig post holes 72” or 96” on center (depending on section width). Holes should be 9-12” in diameter, 36” in ground (Fig. 1).
2) Place post in hole so there is 3.5” of clearance from ground. (Do not set posts permanently in place at this time).
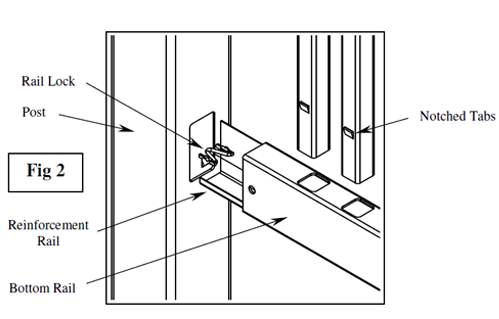
3) Insert reinforcement rail into the bottom rail then insert rail locks into bottom rail and lock into the post (Fig. 2).
4) With bottom rail installed, insert rail locks into top rail and insert into posts. NOTE: The larger holes in the top rail should be positioned on the bottom when installed. Level rails by tapping on posts. Make sure to maintain 3.5” ground clearance.
5) When posts and rails are leveled, post holes may be packed and filled. Crushed stone or concrete may be used. If using concrete, let concrete set before continuing installation.
6) Install pickets by inserting them “notch first” through the top rail and into the bottom rail. Give a good push to lock the tab into the bottom rail (Fig. 2).
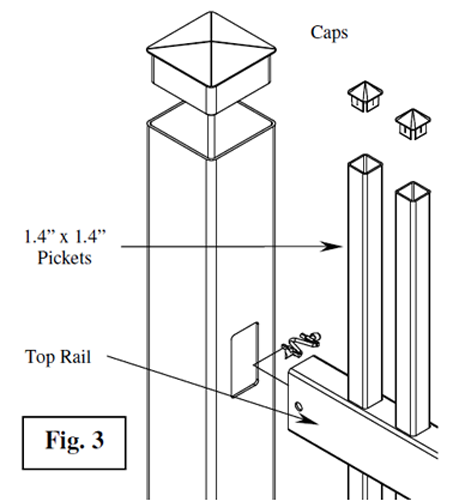
7) Install post caps (4” flat shown) and picket caps by pressing into place. A dab of PVC glue can be used to secure caps permanently in place (Fig. 3).
Installation is just that easy. Interested in directions for one of Royal’s other fence series? Click on one of the styles below to download custom installation guides for Dover, Crown Point, Cascade, Kingston, and Hartford vinyl fences by Royal.

